Survive Broly Survivor Tier List
Best hider kits for lasting the timer, dodging Dio stacks, and earning Survivor badges.
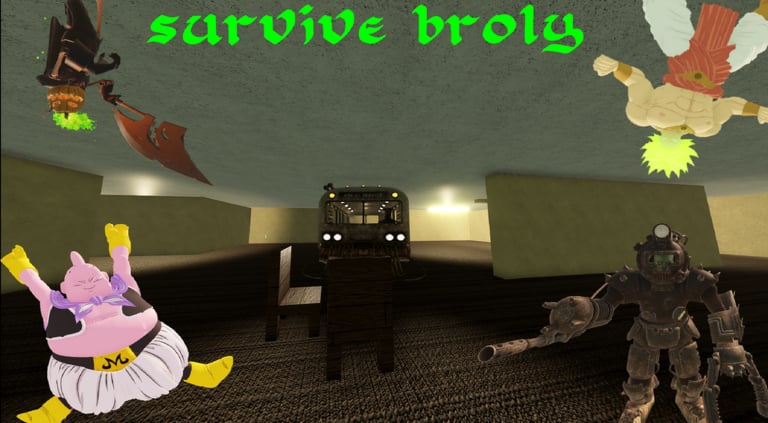
This Survive Broly survivor tier list ranks hider kits for lasting the full round timer while Broly, Dio, and other hunters dismantle the map. Survivors win by staying alive — not by styling on killers. The Survivor badge even tracks your first full round lived as a hider, so fundamentals beat flashy challenge runs.
Pair this page with the Hunter Tier List, then drill habits from How to Survive and route knowledge from Maps.
S-Tier survivors
Mobility disruptors
Kits that dash, vault, or otherwise create instant distance sit at the top. Survive Broly maps become Swiss cheese as walls fall; mobility lets you abandon a collapsing wing before the hunter finishes the demolition. These survivors also punish greedy Dio peeks by leaving the time-stop angle empty.
Strengths: chase resets, flexible pathing, strong in Randomizer panic.
Weaknesses: players who burn mobility early still die in open lobbies.
Information / scout kits
Anything that reveals hunter position or warns teammates earns S-tier value in coordinated groups and solid A/S flex in solo queue. Information is the fair counterpart to ESP scripts discussed on the Scripts Hub.
A-Tier survivors
Support and peel kits
Supports that stun, block, or otherwise interrupt a hunter’s swing keep random teammates alive long enough for the timer. They are less selfish than pure mobility kits but raise overall lobby survive rates.
Hybrid starters with upgrades
Shop-upgraded starter survivors often land in A-tier once you unlock their second tool. Check Codes and the shop tips inside Getting Started before you reroll away from a kit that only needs one upgrade.
B-Tier survivors
Balanced default hiders
Perfect for learning hospital audio cues, stair traps, and when to hide versus when to run. B-tier is not “bad” — it is the classroom tier. Move up after you can survive a Broly without panic swinging into him.
Situational map specialists
Some kits only work when certain props still exist. Once hunters delete those props, the kit falls off. Keep them as fun swaps after you own a reliable S/A main.
C-Tier survivors
Low-impact or cosmetics-first kits
These look cool in the lobby and underperform when a hunter tunnels you. Play them in casual sessions, not while hunting untouchable or lone survivor.
Mode adjustments
Classic
Split from teammates, rotate before your floor is deleted, and never all hide in the same patient room. Review Controls so crouch and interact inputs stay clean.
Infection
Avoid chip damage at all costs if you want untouchable. S-tier mobility plus disciplined pathing beats heroic peeks. Full plan: Infection Mode.
Randomizer
When the lobby rolls absurd hunter stacks, survivor tier compresses — everyone must scatter. Prioritize kits with instant disengage over vanity abilities.
Practical climb plan
- Main one S or A mobility kit.
- Learn two escape routes per map from the Maps guide.
- Study hunter tells on the Hunters roster.
- Play ten intentional survivor rounds before switching kits again.
- Recheck this list after patches on the Updates Hub.
Related pages
A top-tier survivor in Survive Broly is boring in the best way: always one room ahead of the demolition crew, always off-camera when time stop hits, always alive when the timer hits zero.
Frequently Asked Questions
Quick answers for Survive Broly players.
What is the best survivor in Survive Broly?
Mobility disruptors currently lead because destructible maps punish static hiding. Information kits are close behind for team play.
Can a B-tier survivor still win?
Yes. Map knowledge and calm rotations beat an S-tier survivor who panics into Dio every time.
What kit is best for the untouchable badge?
Pick a high-mobility survivor and play Infection extremely safely. See the Infection Mode guide.
Should I change survivors every round?
No. Lock one kit for a session so your muscle memory for escapes can form.